In this tutorial you will use Visual Studio to create a new web service and then add methods to expose the functionality required for your web service.
To create the new Web Service:
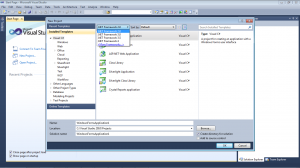
- On the Visual Studio 2010 file menu, choose New Project.
- From drop down list .NET Framework choose .NET Framework 2.0.
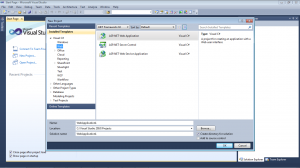
- From menu Recent Templates choose -> Visual C#->Web.
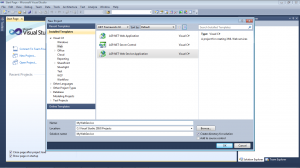
- Go to on the right pane and click on ASP.NET Web Service Application.
- Enter the name of the web service in the Name text box and click OK.
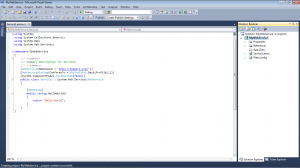
Visual Studio .NET creates a project that contains a .asmx file and code-behind class that provides required functionality.
The content of an .asmx file consists of a single line that contains a WebService directive. The line is just like the @Page directive used in the .aspx file, but with Page replaced by WebService:
<%@ WebService Language=”C#” CodeBehind=”Service1.asmx.cs” %>
The code-behind file for a web service consists of a class that inherits from System.Web.Services.WebService.
public class Service1 : System.Web.Services.WebService
{
….
}
In addition, Visual Studio .NET adds a WebService attribute to the class definition. While not explicitly required, the WebService attribute lets you define the namespace for the web service. By default, the namespace is set to https://tempuri.org/.
[WebService(Namespace = “https://tempuri.org/”)]
public class Service1 : System.Web.Services.WebService
{
…
}
You can replace https://tempuri.org/ with URI representing you company or your development environment e.g. https://localhost.
If you want add useful functionality to the web service, you should create methods just as you usually do for any other class, but you should precede each method definition with a WebMethod attribute. The attribute informs Visual Studio that the method is to be exposed as part of the web service.
In our example I added two additional methods and kept the existing one HelloWorld:
[WebMethod]
public string HelloWorld()
{
return “Hello World”;
}
The first additional method is
[WebMethod]
string Calculator(int nm1, int nm2, char op)
{
…
}
which expects as input two integer numbers and type of operation between them ‘+’,’-‘,’*’ and ‘/’. As result the method returns calculated value or error Dividing by zero in case of nm2=0 and op=’/’.
The second additional method is
[WebMethod]
public string StateName(string code)
{
…
}
which expects as input code of the state and returns as result its full name.
The full text of the code-behind class is :
using System;
using System.Collections.Generic;
using System.Web;
using System.Web.Services;
namespace MyWebService
{
/// <summary>
/// Summary description for Service1
/// </summary>
[WebService(Namespace = “https://localhost/”)]
[WebServiceBinding(ConformsTo = WsiProfiles.BasicProfile1_1)]
[System.ComponentModel.ToolboxItem(false)]
public class Service1 : System.Web.Services.WebService
{
[WebMethod]
public string HelloWorld()
{
return “Hello World”;
}
[WebMethod]
public string Calculator(int nm1, int nm2, char op)
{
int res = 0;
switch (op)
{
case ‘+’: res = nm1 + nm2; break;
case ‘-‘: res = nm1 – nm2; break;
case ‘*’: res = nm1 * nm2; break;
case ‘/’: if (nm2 == 0)
{
return “Dividing by zero”;
}
res = nm1 / nm2;
break;
}
return res.ToString();
}
[WebMethod]
public string StateName(string code)
{
string[] states = {“ALABAMA”,”ALASKA”,”AMERICAN SAMOA”,”ARIZONA”,
“ARKANSAS”,”CALIFORNIA”,”COLORADO”,”CONNECTICUT”,
“DELAWARE”,”DISTRICT OF COLUMBIA”,”FEDERATED STATES OF MICRONESIA”,
“FLORIDA”,”GEORGIA”,”GUAM”,”HAWAII”,”IDAHO”,”ILLINOIS”,
“INDIANA”,”IOWA”,”KANSAS”,”KENTUCKY”,”LOUISIANA”,”MAINE”,
“MARSHALL ISLANDS”,”MARYLAND”,”MASSACHUSETTS”,
“MICHIGAN”,”MINNESOTA”,”MISSISSIPPI”,”MISSOURI”,
“MONTANA”,”NEBRASKA”,”NEVADA”,”NEW HAMPSHIRE”,
“NEW JERSEY”,”NEW MEXICO”,”NEW YORK”,”NORTH CAROLINA”,
“NORTH DAKOTA”,”NORTHERN MARIANA ISLANDS”,”OHIO”,
“OKLAHOMA”,”OREGON”,”PALAU”,”PENNSYLVANIA”,”PUERTO RICO”,
“RHODE ISLAND”,”SOUTH CAROLINA”,”SOUTH DAKOTA”,”TENNESSEE”,
“TEXAS”,”UTAH”,”VERMONT”,”VIRGIN ISLANDS”,”VIRGINIA”,
“WASHINGTON”,”WEST VIRGINIA”,”WISCONSIN”,”WYOMING”};
string[] codes = {“AL”,”AK”,”AS”,”AZ”,”AR”,”CA”,”CO”,”CT”,”DE”,”DC”,”FM”,”FL”,”GA”,
“GU”,”HI”,”ID”,”IL”,”IN”,”IA”,”KS”,”KY”,”LA”,”ME”,”MH”,”MD”,”MA”,
“MI”,”MN”,”MS”,”MO”,”MT”,”NE”,”NV”,”NH”,”NJ”,”NM”,”NY”,”NC”,”ND”,
“MP”,”OH”,”OK”,”OR”,”PW”,”PA”,”PR”,”RI”,”SC”,”SD”,”TN”,”TX”,”UT”,
“VT”,”VI”,”VA”,”WA”,”WV”,”WI”,”WY”};
string cd;
cd = code.ToUpper();
cd = cd.TrimEnd();
cd = cd.TrimStart();
if (cd.Length != 2)
return “OPPS INVALIDE CODE”;
for (int i = 0; i < 50; i++)
{
if (cd.Equals(codes[i]) == true)
{
return states[i];
}
}
return “NO STATE”;
}
}
}
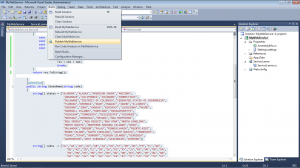
- Press F6 button to build solution
- Publish the solution.
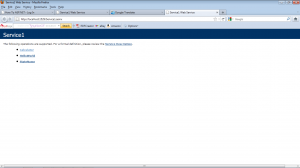
- Press F5 to start the solution
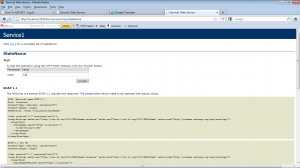
- Click for example on StateName.
- Enter CA and press Invoke.
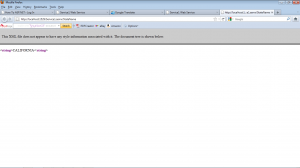
As result the browser should display CALIFORNIA

