If you are planning to use the ASP.NET membership API and the security controls of APS.NET, you have to complete the next steps:
1. Configure forms authentication in your web.config file, and deny access to anonymous users.
2. Set up the membership data store. If you are planning to use SQL Server you have to create some tables and stored procedures in SQL Server database, chosen by you.
3. Configure the database connection string and the membership provider you want to use in the application’s web.config file.
4. Create users in your membership store using the ASP.NET web configuration utility or using a custom administration page that you can implement in your web application using the membership API functions.
5. Create a login page that uses the prebuilt Login control, or create a login page that uses the Membership class for validating the entered credentials and authenticating the user.
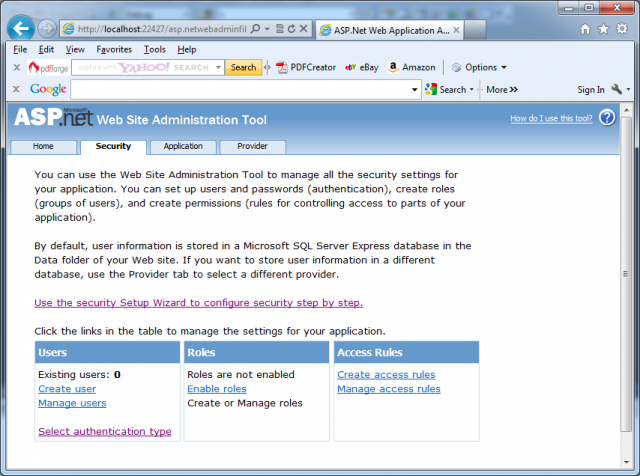
You can perform every configuration step except the provider configuration through the ASP.NET WAT, which includes a security wizard. Just select the Web Site ➤ ASP.NET Configuration menu from within Visual Studio.
You don’t need to setup a data store, if you are using ASP.NET on a machine with SQL Server Express Edition. If you launch the security wizard in the WAT, as shown in the next picture, the required underlying data store will be created automatically for you when you create the first user. Now you can add users to your membership storage. When you are using using SQL Server Express Edition, the SqlMembershipProvider automatically creates a new database in the website’s App_Data special directory called ASPNETDB.MDB. This database implements the complete schema, which is necessary for storing and managing user information, role information, user-role assignments, or even more, such as personalization and user profiles.
If you want to use your own database for storing user information and role information instead of this automatically created one, you have to configure the membership provider and connection information for the provider before you launch the security wizard in the WAT.

